|
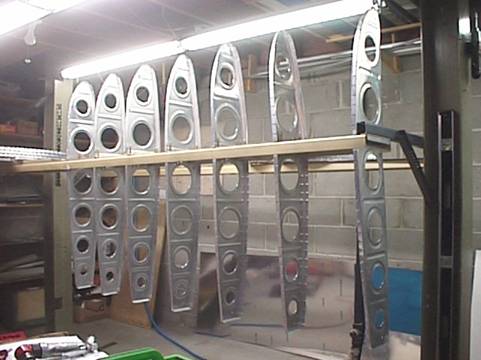
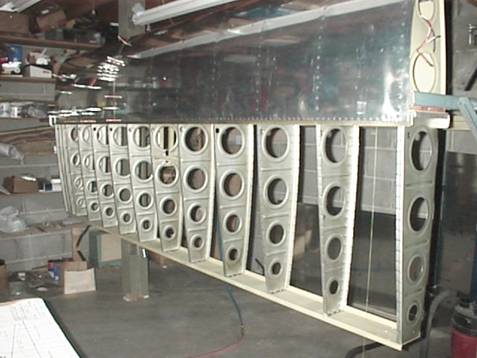
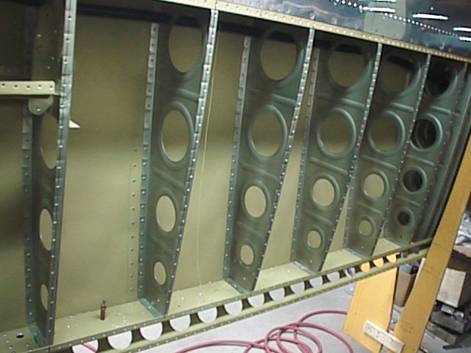
Updated 1/11/03 Construction of Wings I completed the wings at 415 hours into the project. This page describes the construction of the RV-4 wings. I started with the same wing jig as used on my RV-6. This jig is was made from some 6" fiberglass I beams purchased from a surplus store. The arms holding the two main spars are made from rescued bed frame steel. Building both wings at the same time works well for me until I start skinning the aft parts of the wing. This background picture shows some of the trailing edge ribs after the center holes have been removed.
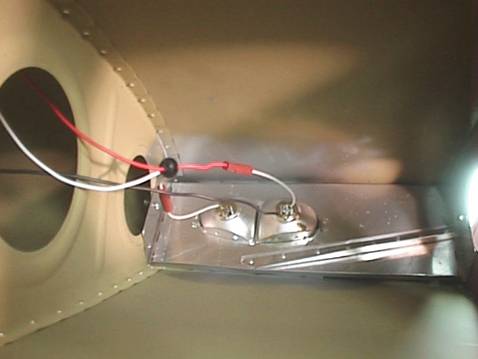
The leading edge and tank were fitted before the main skins. The picture below show the landing light installation in the right leading edge. I bought the lens from Van's for the Duckworth lights and made my own installation from Walmart driving lights. The each light has two 55 watt bulbs. I was concerned about the heat generated and tested the for several minutes in an ambient condition with no air flow. There was not problem with overheating of the lens or the interior painted surfaces.
This picture shows the leading edge and tank attached to the main spar.
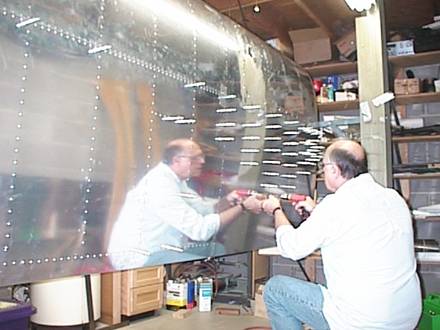
The ailerons and flaps are finished and the flap is test fitted with the alignment jigs. The top skins are read for riveting. They were back riveted using the bucking bar shown next to the green cleco container.
This picture shows the fitting of the flap brace.
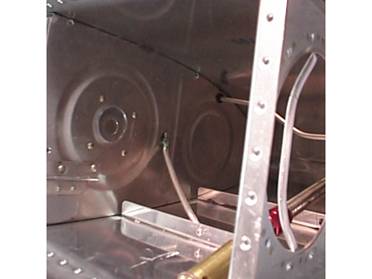
The right tank is being sealed. It is complete except for the rear baffle.
The left tank has been built with a flop tube to allow inverted operation. This shot shows the tube installed with the modifications to the inside rib and anti-hang devices. It is complete except for the rear baffle.
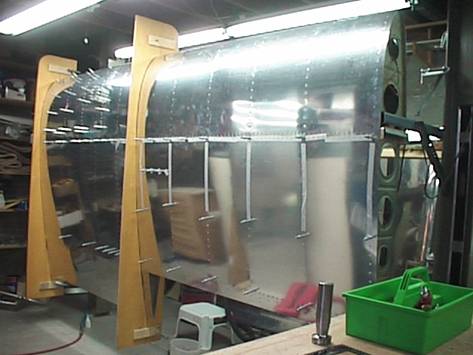
Here I am drilling the top inboard skin. The leading edge has been riveted and the tank installed. The outboard skins have not yet been back riveted.
|